Mason will be 2 this weekend and he loves Mickey Mouse! Here's what I've made so far for his party. Unfortunately, the party place doesn't allow you to hang decorations, so I won't be making much.
Invitations
Birthday parties are so much fun! Especially when it's your 2nd one!!
Once I got the wording centered, I made these pretty quickly. I used the Disney Cricut cartridge for the 6" Mickey Mouse head on card stock paper. The white insert slips out and has the party information in a free Mickey font I found online.
Pin It
Goody bags

Favors
These are 1X8 cello bags filled with M&M's and topped with a Mickey diecut.
Pin It
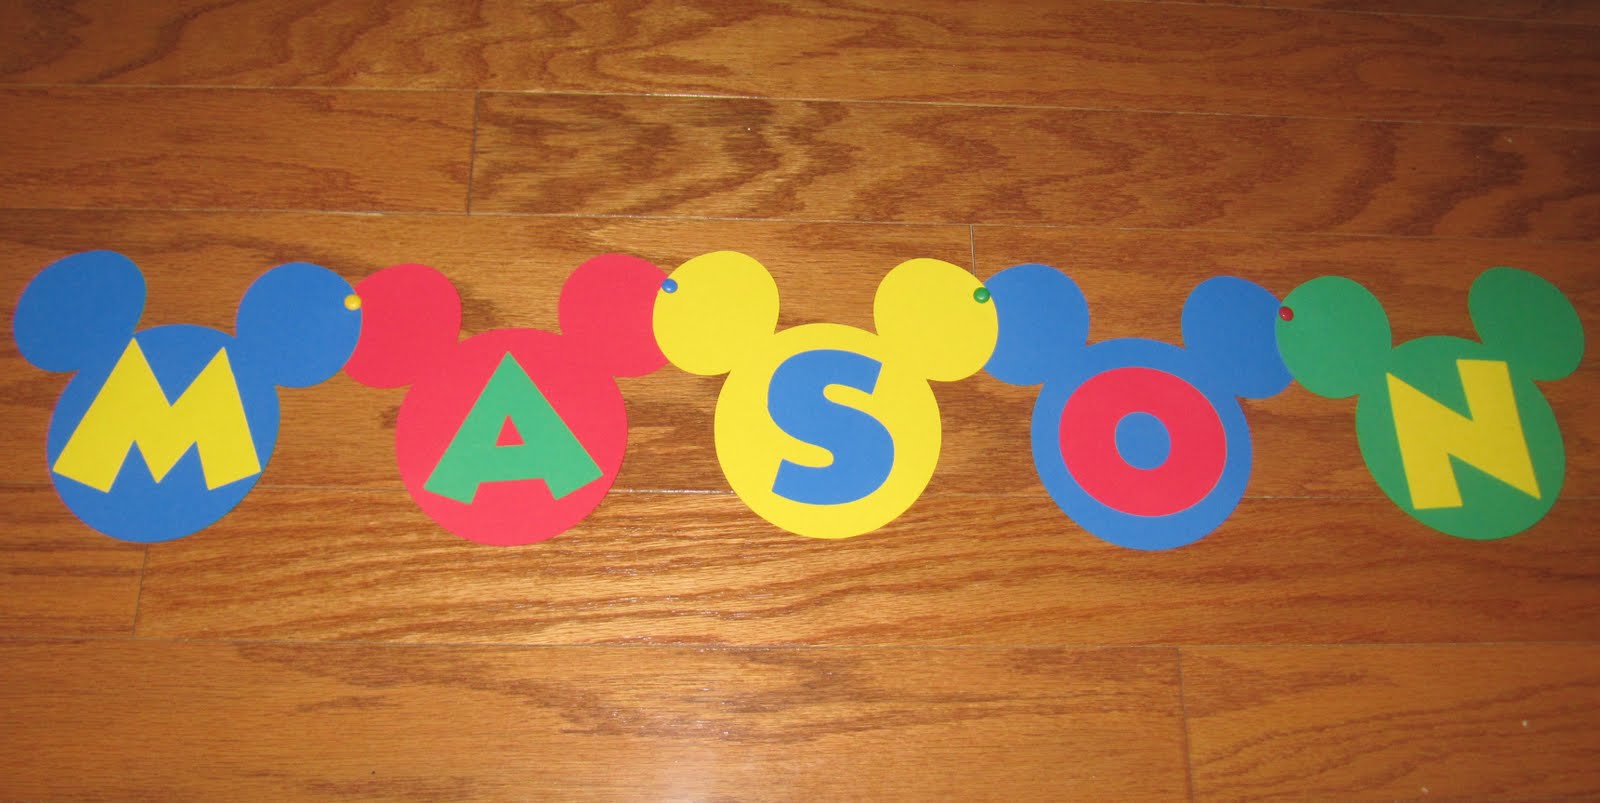
Banner

More Favors
I've yet to the make the big batch for the party. These are the practice ones.
To make these cookies, you will need:
*Double Stuf Oreos
*Mini Oreos
*Black candy writer
*Red candy writer
*Wilton red candy melts
*White confetti/sprinkles
*Wax paper
*Cookie sheet
-Use the black candy writer to "glue" the mini Oreos to the big Oreo
-Place on wax paper and freeze until the candy hardens
-Once dry, use the red candy writer to draw a line across the cookies as the top of the pants
-Melt candy chips as directed and dip cookie to the red line
-Place your "buttons"
-Place completed cookie on wax paper in the freezer until the pants harden
For the candy writers, I used the BUFF brand from Michael's. I think the hardest part was finding ears that "fit" correctly. I had to eat quite a few that weren't *just* right. ;)


